
Description
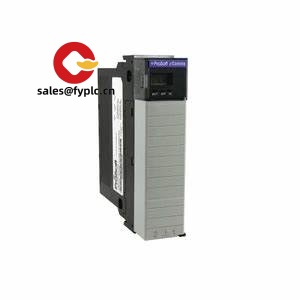
ProSoft ILX56-PBM – ControlLogix PROFIBUS DP Master made practical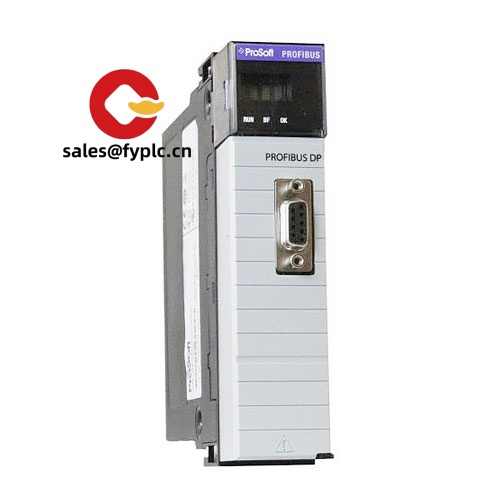
The ProSoft ILX56-PBM brings reliable PROFIBUS DP Master capability straight into a 1756 ControlLogix chassis. From my experience, it’s the cleanest way to tie legacy PROFIBUS drives, remote I/O, weighing systems, and field instruments into a modern Rockwell controller without external gateways. You might notice that commissioning tends to move faster here—GSD import, a straightforward Add-On Profile in Studio 5000, and clear diagnostics through controller tags and front-panel LEDs. In many cases, it shortens startup time and reduces troubleshooting because everything sits neatly in the Logix environment.
Company’s Order Placement Process and Guarantees
- Warranty: 365 days
- Delivery: 1 week if in stock; no more than one month at the latest
- Payment: 50% advance payment; full payment before delivery
- Express options: FedEx, UPS, DHL
Key Features
- Native ControlLogix integration – In-chassis module for 1756 racks; configuration handled inside Studio 5000 with an Add-On Profile (AOP).
- PROFIBUS DP Master (DP-V0/V1) – Cyclic I/O and acyclic parameterization for drives, I/O, analyzers, and specialty instruments.
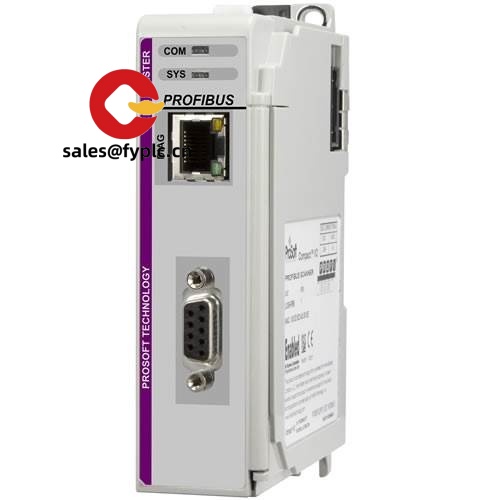
- High-speed RS-485 port – PROFIBUS DP data rates up to 12 Mbps (typical), galvanically isolated DB9 interface for robust noise immunity.
- Scalable node count – Typically supports up to 125 PROFIBUS devices, depending on network design and data sizes.
- Familiar diagnostics – Status via controller tags and module LEDs; makes it easier to pinpoint cabling or device issues during commissioning.
- GSD-based setup – Import device GSD files and build a scan list quickly; in many cases it’s a plug-and-run approach for common drives and remote I/O.
- Ruggedized for plant floors – Standard ControlLogix form factor; typically used in MCCs, drive panels, and process skids without extra gateways.
“We replaced an external gateway with the ILX56-PBM and shaved hours off our I/O mapping. Diagnostics through Logix tags saved us a few headaches during startup.” — Maintenance Supervisor, food & beverage plant
Technical Specifications
| Brand / Model | ProSoft Technology ILX56-PBM |
| Function | ControlLogix in-chassis PROFIBUS DP Master (DP-V0/V1) |
| HS Code | 8537.10 (Programmable controller assemblies; final classification may vary by country) |
| Power Requirements | Supplied via 1756 ControlLogix backplane (5 VDC); typical module consumption, no external PSU required |
| Dimensions & Weight | Standard 1756 single-slot module; typical weight around 0.3 kg |
| Operating Temperature | 0 to 60 °C (typical for in-chassis modules; check panel ventilation) |
| Signal I/O Types | Cyclic PROFIBUS process data and acyclic DP-V1 parameterization; no direct analog/digital terminals on the module |
| Communication Interfaces | Backplane to ControlLogix CPU; 1x PROFIBUS DP (DB9 female, RS-485, isolated), up to 12 Mbps (typical) |
| Installation Method | Mounts in 1756 ControlLogix chassis; single slot; configured in Studio 5000 via AOP and controller tags/AOIs |
Related or Supporting Products
- ProSoft ILX56-PBS – PROFIBUS DP Slave module for ControlLogix when the Logix controller must act as a device on an existing PROFIBUS network.
- ProSoft MVI56-PDPMV1 – Legacy PROFIBUS DP Master for ControlLogix. ILX56-PBM is the newer, streamlined option with Studio 5000 AOP.
- 1756 chassis & power – 1756-Ax series chassis and 1756-PA/PD power supplies as required by your rack design.
- PROFIBUS accessories – DB9 connectors with integrated termination, shielded twisted-pair PROFIBUS cable, and RS-485 repeaters for long runs or star topologies.
Installation & Maintenance
- Panel & cabinet – Install in a 1756 chassis within a clean, ventilated enclosure. Keep signal cables separated from high-voltage and VFD output leads to minimize noise.
- Wiring – Use shielded PROFIBUS cable with correct impedance; maintain proper termination at both ends and ensure shield bonding is consistent. Typical baud rates range from 9.6 kbps to 12 Mbps depending on cable length.
- Configuration – Import GSD files for each device, build the scan list in the AOP, and map I/O into Logix tags. You might notice that commissioning goes faster if you test one device at a time.
- Safety – De-energize the rack before insertion/removal. Verify grounding practices for the shield and observe local electrical standards.
- Routine maintenance – Periodically inspect connectors and terminations, verify shield continuity, and review diagnostics tags for error counters. Firmware updates should be applied during scheduled downtime.
- Troubleshooting tip – Intermittent faults often trace back to loose DB9 screws or inconsistent shield bonding; a quick mechanical check typically solves many issues.
Quality & Certifications
- CE and RoHS compliant; UL/cUL for industrial control equipment (typical for in-chassis modules)
- Manufactured for industrial environments with EMI immunity suitable for plant floors
- Warranty: 365 days (our supply guarantee)


Reviews
There are no reviews yet.