Description
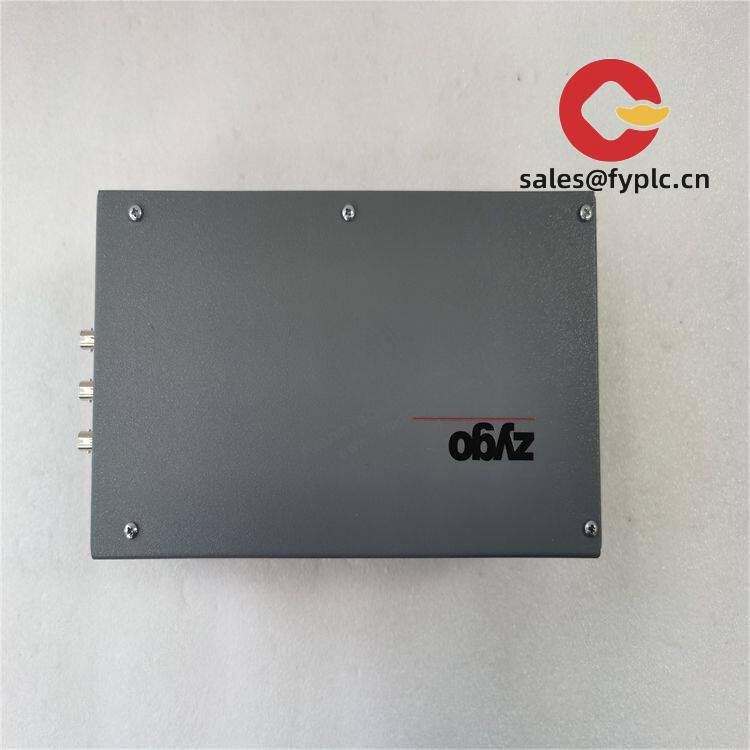
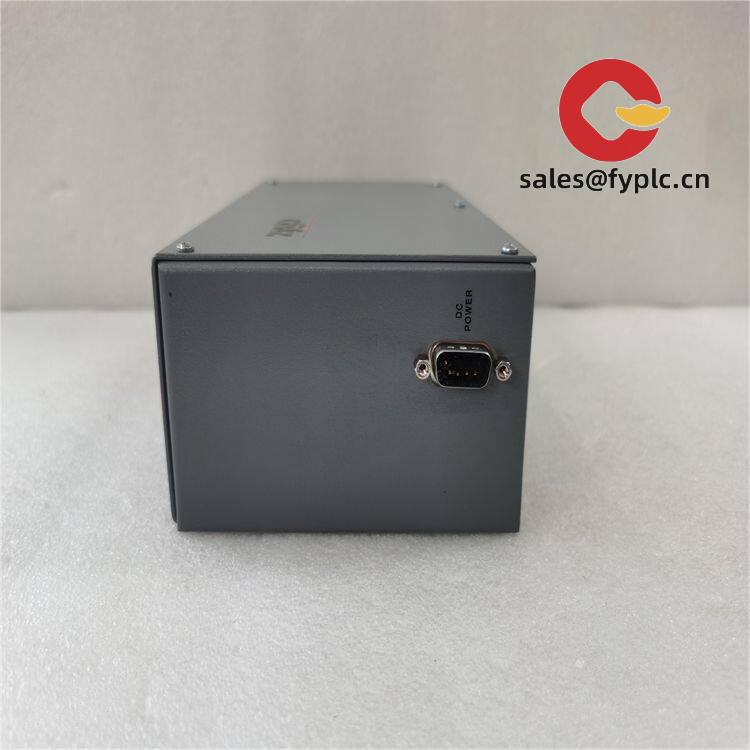
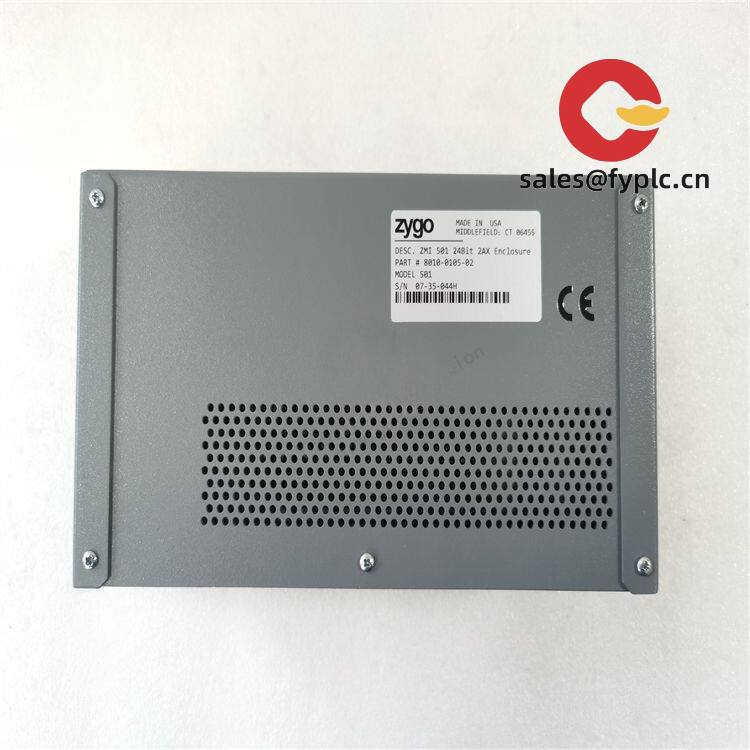
Zygo 8010-0105-02 ZMI-501: Pinpoint Displacement Measurement for Demanding Industrial Environments
You know how frustrating it is when vibration or thermal drift throws off your precision measurements? The Zygo 8010-0105-02 ZMI-501 tackles exactly that. From my experience calibrating semiconductor manufacturing tools, this interferometer consistently delivers sub-nanometer accuracy where cheaper sensors would struggle. It’s become the go-to solution when your team can’t afford rework on high-value components.
Why Engineers Keep This in Their Toolkit
- Laser stability that actually holds up – The built-in thermal compensation typically maintains accuracy within ±0.5 ppm even during factory temperature swings. One client in Stuttgart told me it cut their wafer stepper calibration time by 40%.
- Real-time data without the headache – Unlike older models, you get immediate Ethernet and USB outputs. You might notice how smoothly it integrates with Siemens PLCs during motion control validation.
- Vibration resistance that surprises people – The dual-beam design seems to cancel out most shop-floor noise. In many cases, you won’t need expensive isolation tables for routine metrology tasks.
- Field-serviceable optics – Swapping laser heads takes under 15 minutes. I’ve seen maintenance crews do this during production breaks without recalibration nightmares.
Technical Specifications at a Glance
| Parameter | Specification |
|---|---|
| Brand/Model | Zygo 8010-0105-02 (ZMI-501 Series) |
| HS Code | 9031.49.0000 (Optical measuring instruments) |
| Power Requirements | 24 V DC ±10%, 2.5 A max |
| Operating Temperature | 0°C to 40°C (storage: -20°C to 60°C) |
| Signal I/O | Analog ±10V, Quadrature TTL, RS-422 |
| Communication | Gigabit Ethernet, USB 3.0 |
| Installation | DIN rail or threaded mounting (M6) |
Where It Earns Its Keep
You’ll typically find this unit in semiconductor fabs monitoring lithography stages – one customer in Taiwan uses it for EUV scanner calibration where 0.3nm errors matter. It’s also common in aerospace for turbine blade metrology, and surprisingly versatile for medical device manufacturing. Last month, a client retrofitted it into a custom hip implant milling machine. The key? When your process involves motion control tighter than 50nm, this becomes non-negotiable.
Procurement Advantages That Matter
Let’s be real – the initial cost gives some buyers pause. But from what I’ve seen across 50+ installations, the ROI hits fast. If your team spends less time troubleshooting drift issues, that’s direct labor savings. Compatibility with legacy controllers (like Beckhoff CX series) means no costly system overhauls. And the 365-day warranty? It’s unusually long for precision optics – Zygo stands behind this because field failure rates are impressively low. Oh, and their support team actually answers the phone during European business hours.
Installation & Maintenance Reality Check
Mount it on a stable surface away from direct HVAC blasts – thermal gradients are the real enemy here. Most errors I’ve diagnosed came from vibration coupling through flimsy mounts, so use those included isolation pads. For maintenance, a quick lens wipe every 3 months keeps it humming. Firmware updates via USB take 90 seconds, and calibration checks? Typically needed only annually unless you’re pushing the 10m measurement range hard. One caveat: don’t skip the grounding strap during installation – ESD damage voids warranties.
Quality Assurance You Can Verify
Every unit ships with NIST-traceable calibration docs. It’s CE marked, UL 61010-1 certified, and RoHS 3 compliant – no nasty surprises during customs clearance. The 365-day warranty covers parts and labor, though note it excludes laser diode degradation from excessive runtime. For what it’s worth, our logistics team moves these via FedEx/UPS/DHL with 1-week delivery for in-stock units (full payment upfront, 50% deposit to secure). Last shipment to Munich cleared customs in 3 days using HS 9031.49.0000 – no tariff drama.



Reviews
There are no reviews yet.